Words by Dina. Photographs by Taman Hayat.
This is the second part of our bonsai succulent series. Recently we read a book called Pachyforms: Bonsai Succulents Volume II written by Philippe de Vosjoli and Rudy Lime. In the previous post, An Introduction to Bonsai: How To Artistically Train Your Plant, we learned the history and origins of Bonsai, now we will cover the practical aspects of potting and staging your Bonsai, from pot selection, soil preparation, to post-potting care. These steps are where the magic of Bonsai truly begins, as you take a living plant and start shaping it into your personal work of art.
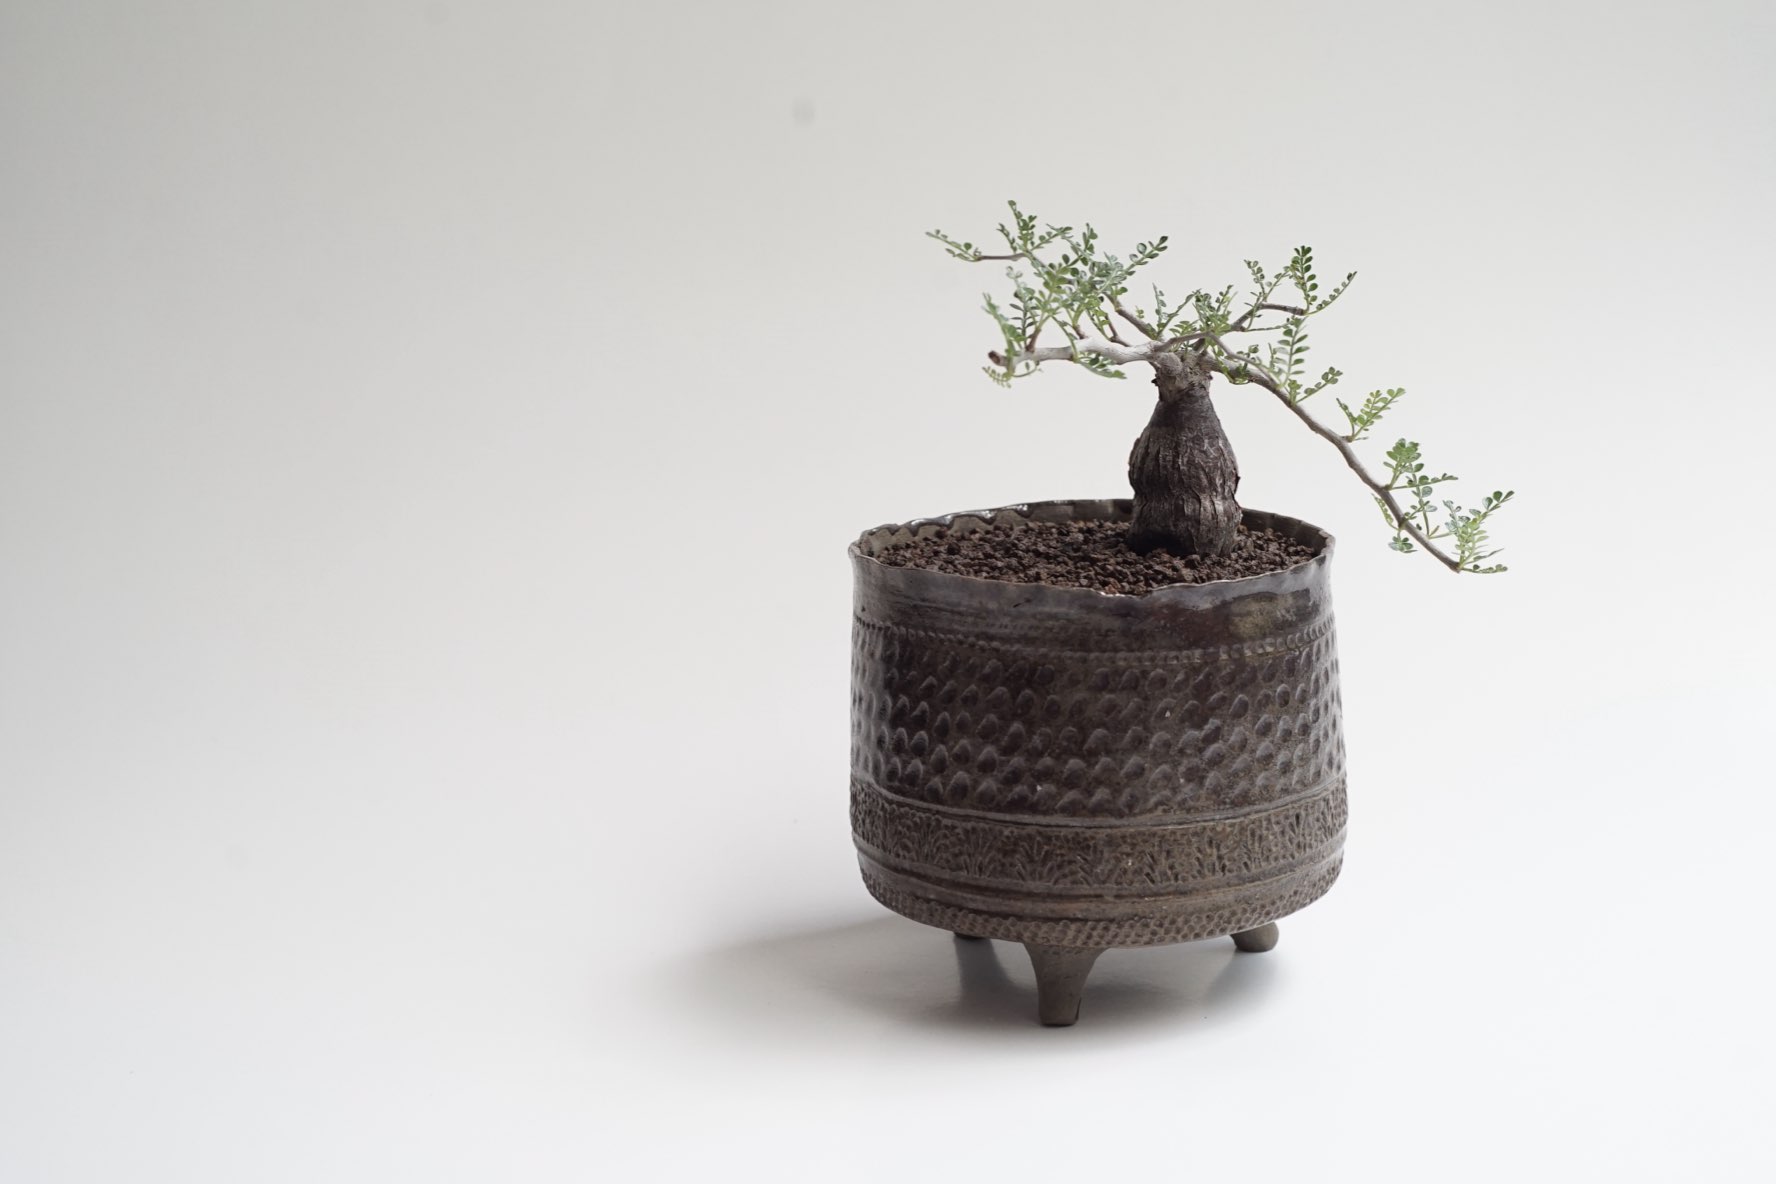
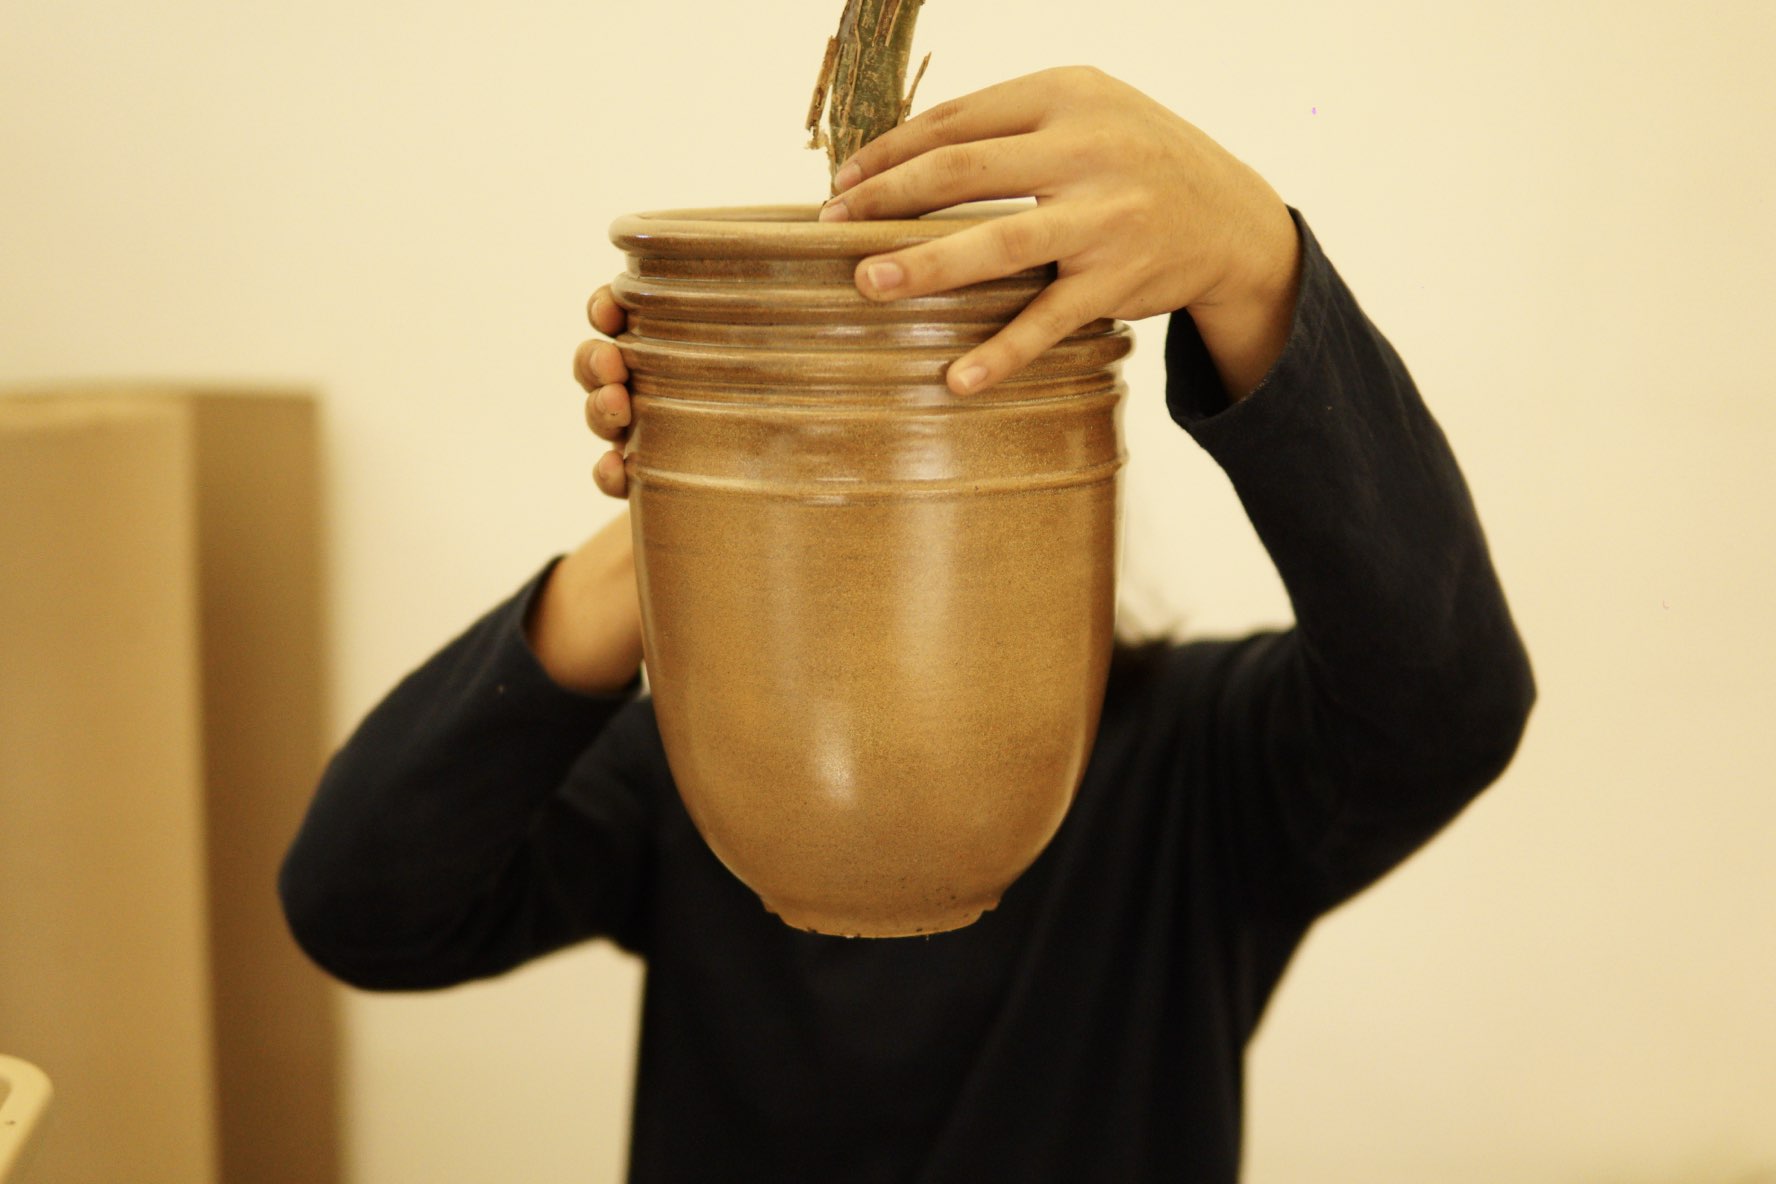
Selecting a pot is crucial because it sets the stage for your bonsai succulent’s overall look. To train your bonsai succulent, you need to focus on three key steps: selecting the right pot, positioning your plant, and then training it.
–
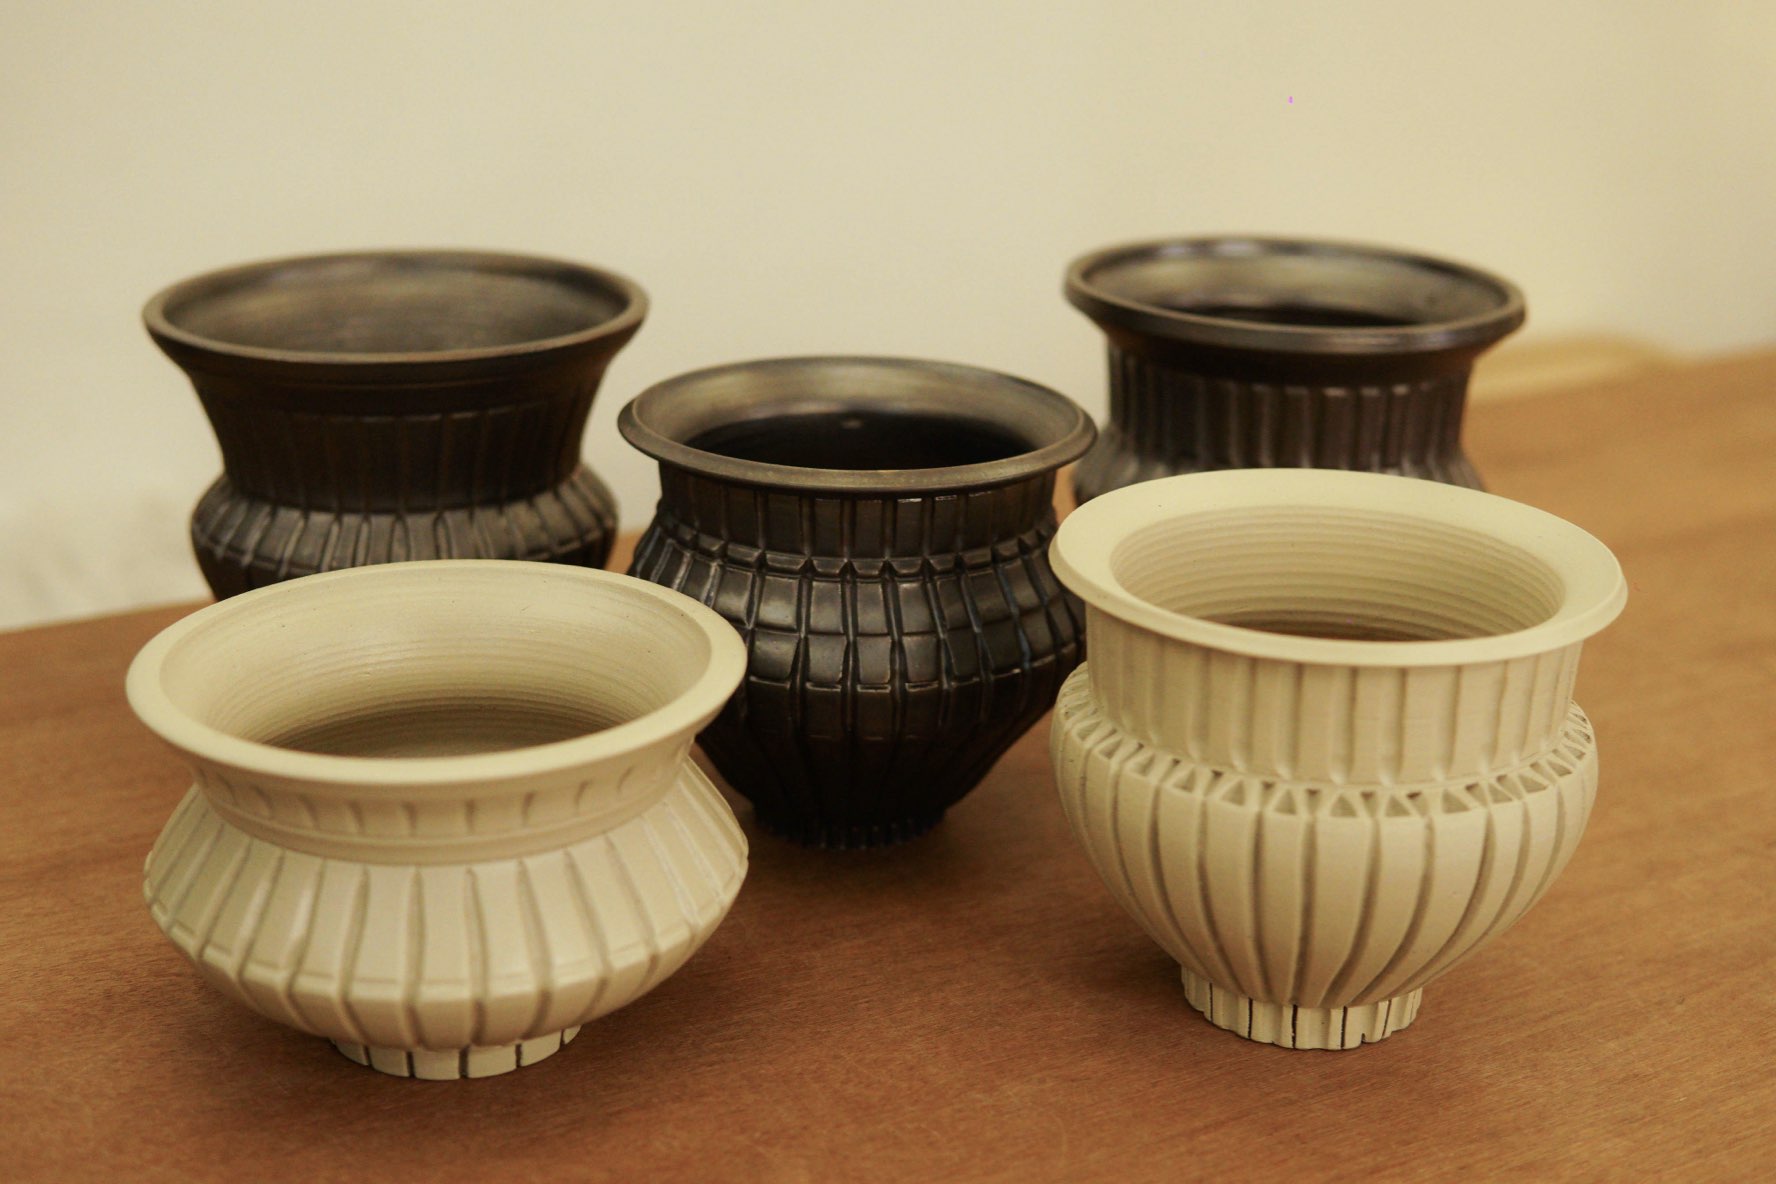
I. Selecting the Right Pot
When choosing a pot, it’s crucial to select one that enhances the beauty of your plant without overshadowing it. A good rule of thumb, as we believe in Taman Hayat, is that a pot should always complement the presentation of a plant, not compete with it. When you pick the right color or texture, it harmonizes with the outlook of the pairing, rather than standing out on its own.
By choosing the right tones and designs, your pot can draw the eye to your bonsai succulent. So here are some of the general rules to consider how your pot interacts with the plant’s visual aesthetics:
Match Pot Shape with Plant Style
Tip #01 Avoid colors or patterns that may visually compete with the plant. However, it’s not necessarily to avoid bright colors or complex patterns altogether. Instead, focus on achieving harmony by selecting pots with gradients or tones that complement the Bonsai’s color palette. You can find a pot with hues that blend well with the leaves or the stem.
–
Tip #02 Use rectangular or oval pots for plants with an uneven or tilted shape. These pots suit succulents with bending trunks or asymmetrical growth.
Tip #03 If your bonsai succulents have straight trunks or branches, you can balance them with wood or stones. The main thing is, creating a balanced and pleasing visual composition.
Get the Right Size
Remember the primary purpose of selecting the proper-sized bonsai pot is to minimize growth. The goal is to produce portable works of art, not large specimen plants.
Tip #01 The pot should be large enough to allow some growth and provide exposed soil for watering. However, it shouldn’t be so big that it encourages excessive growth. (Rule of thumb: at least a third of the soil surface should be exposed and not covered by the plant body)
Tip #02 If your plant is taller than its width, opt for a pot with a height that’s under one-third of the plant’s height. If you go for a shallow pot, the pot’s width should be less than one-third of the plant’s height.
Additional tip: Additional tip: A general rule is to choose a pot with a height or depth that matches the thickest part of the plant’s trunk. For pachyforms, a shallower pot may work well, even if it’s less than half the trunk’s thickness.
“A pot should always complement the presentation of a plant, not compete with it. When you pick the right color or texture, it harmonizes with the outlook of the pairing, rather than standing out on its own.”
–
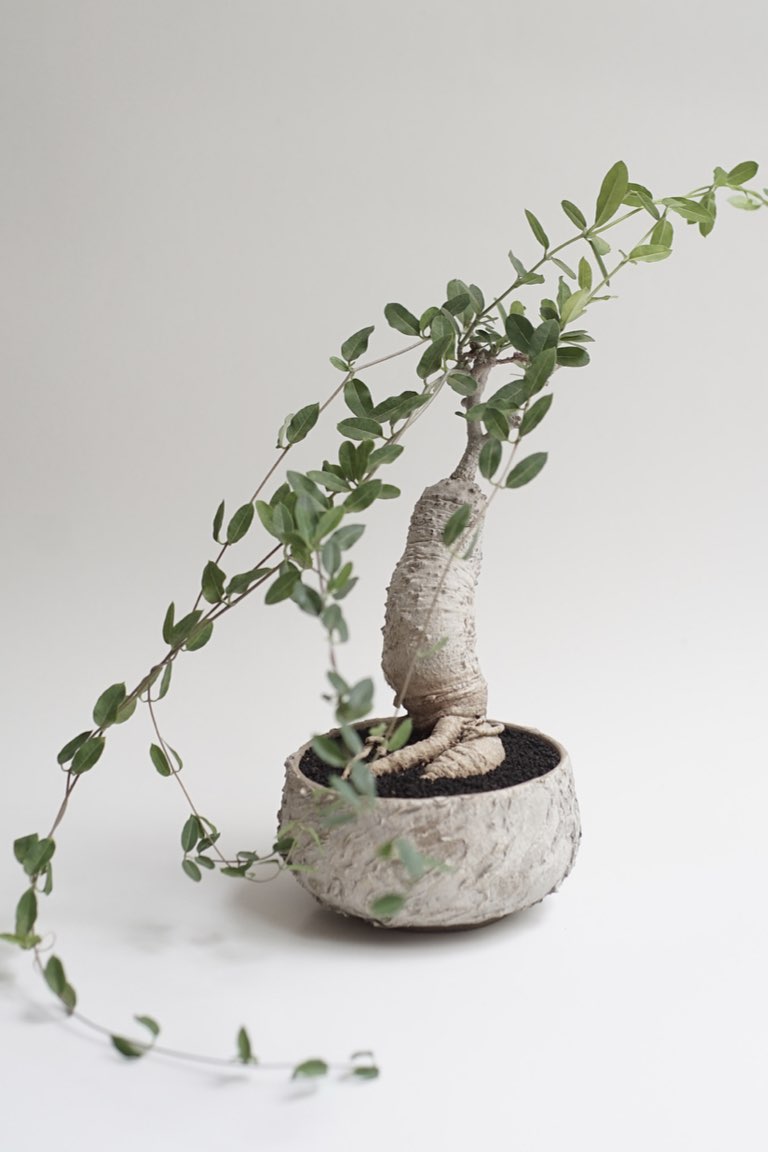
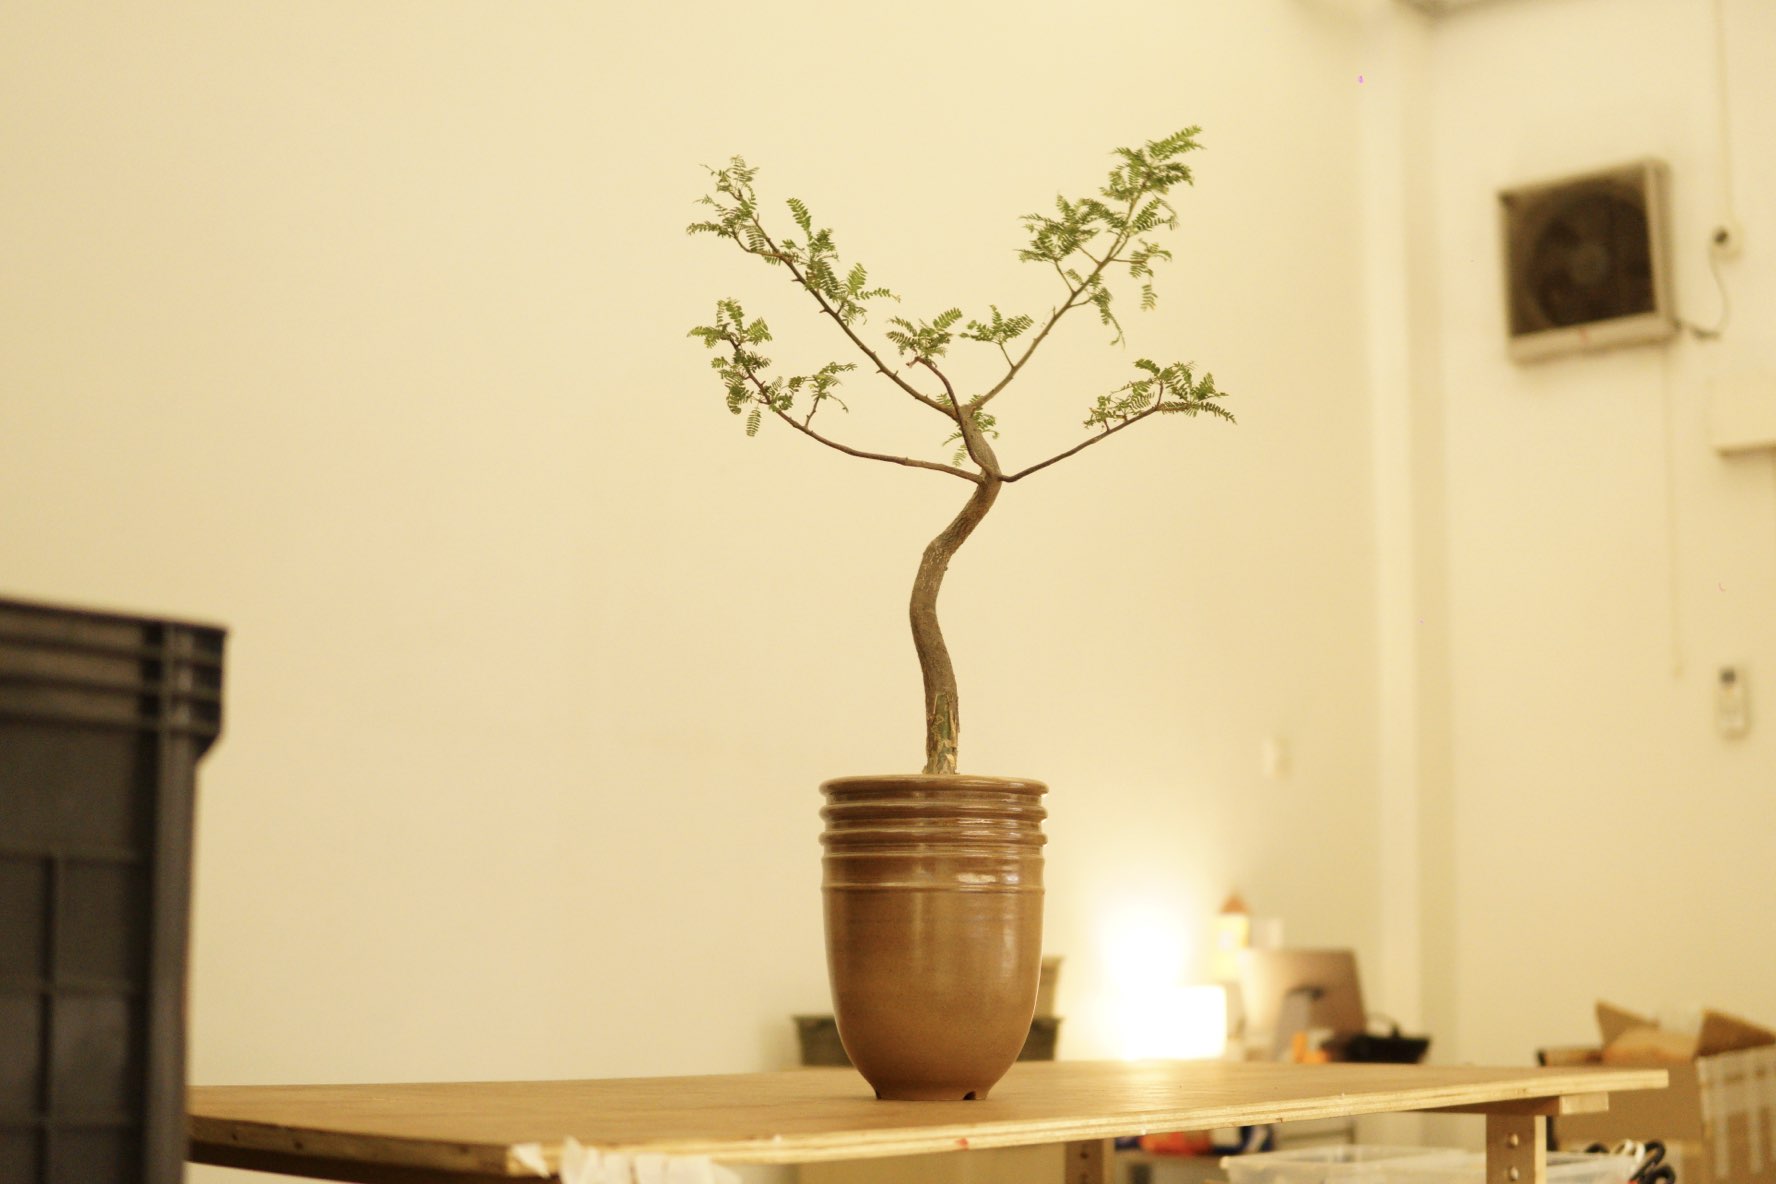
Once you’ve chosen the pot, it’s time to position your plant. With your experience, you will create your own unique sense of proportion and naturally develop an instinct for pairing pots and plants in a way that you feel just right. But make sure it’s stable and visually appealing. Think about how it fits in the pot and how it aligns with any rocks, wood, or other decorative elements you might want to add. And after that don’t forget that creating a bonsai succulent involves carefully potting and positioning your plant. Here’s a simplified guide we share to help you with these important steps.
II. Potting and Staging Plants
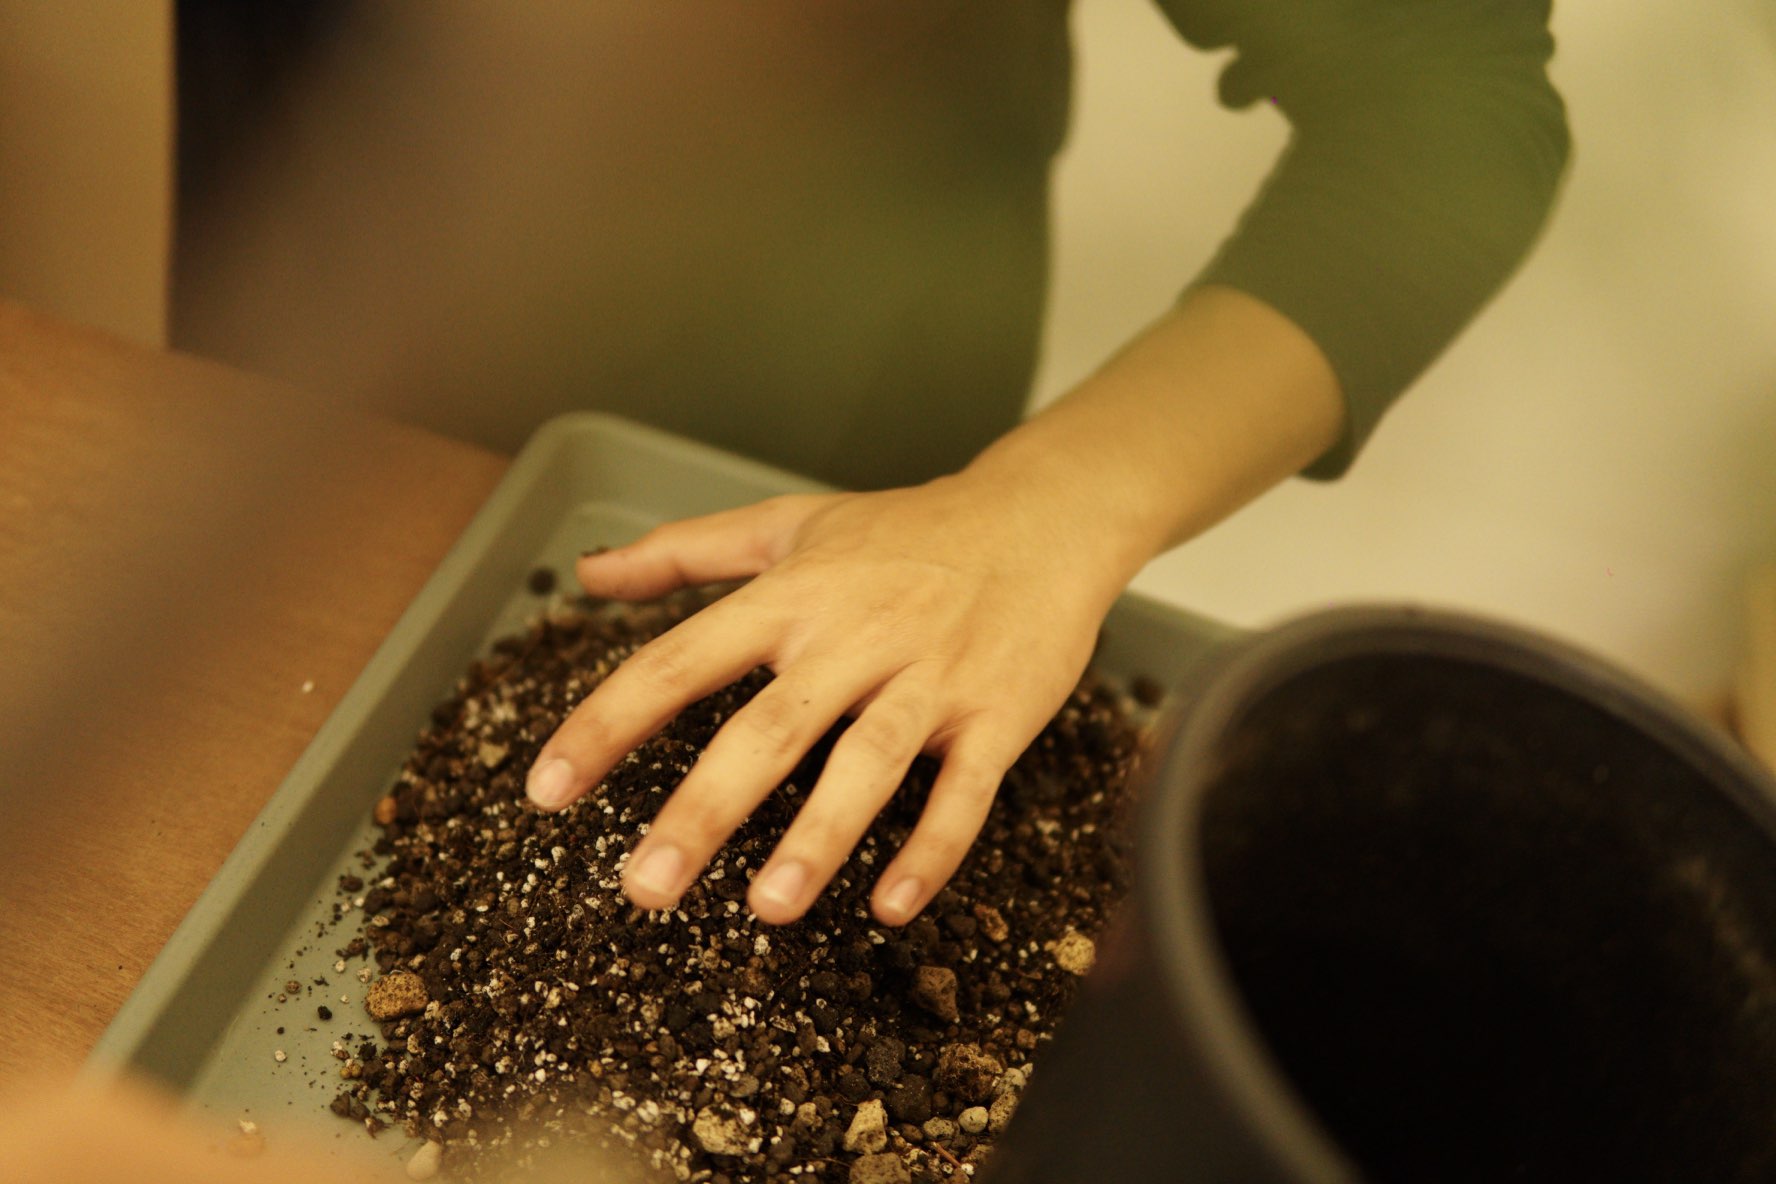
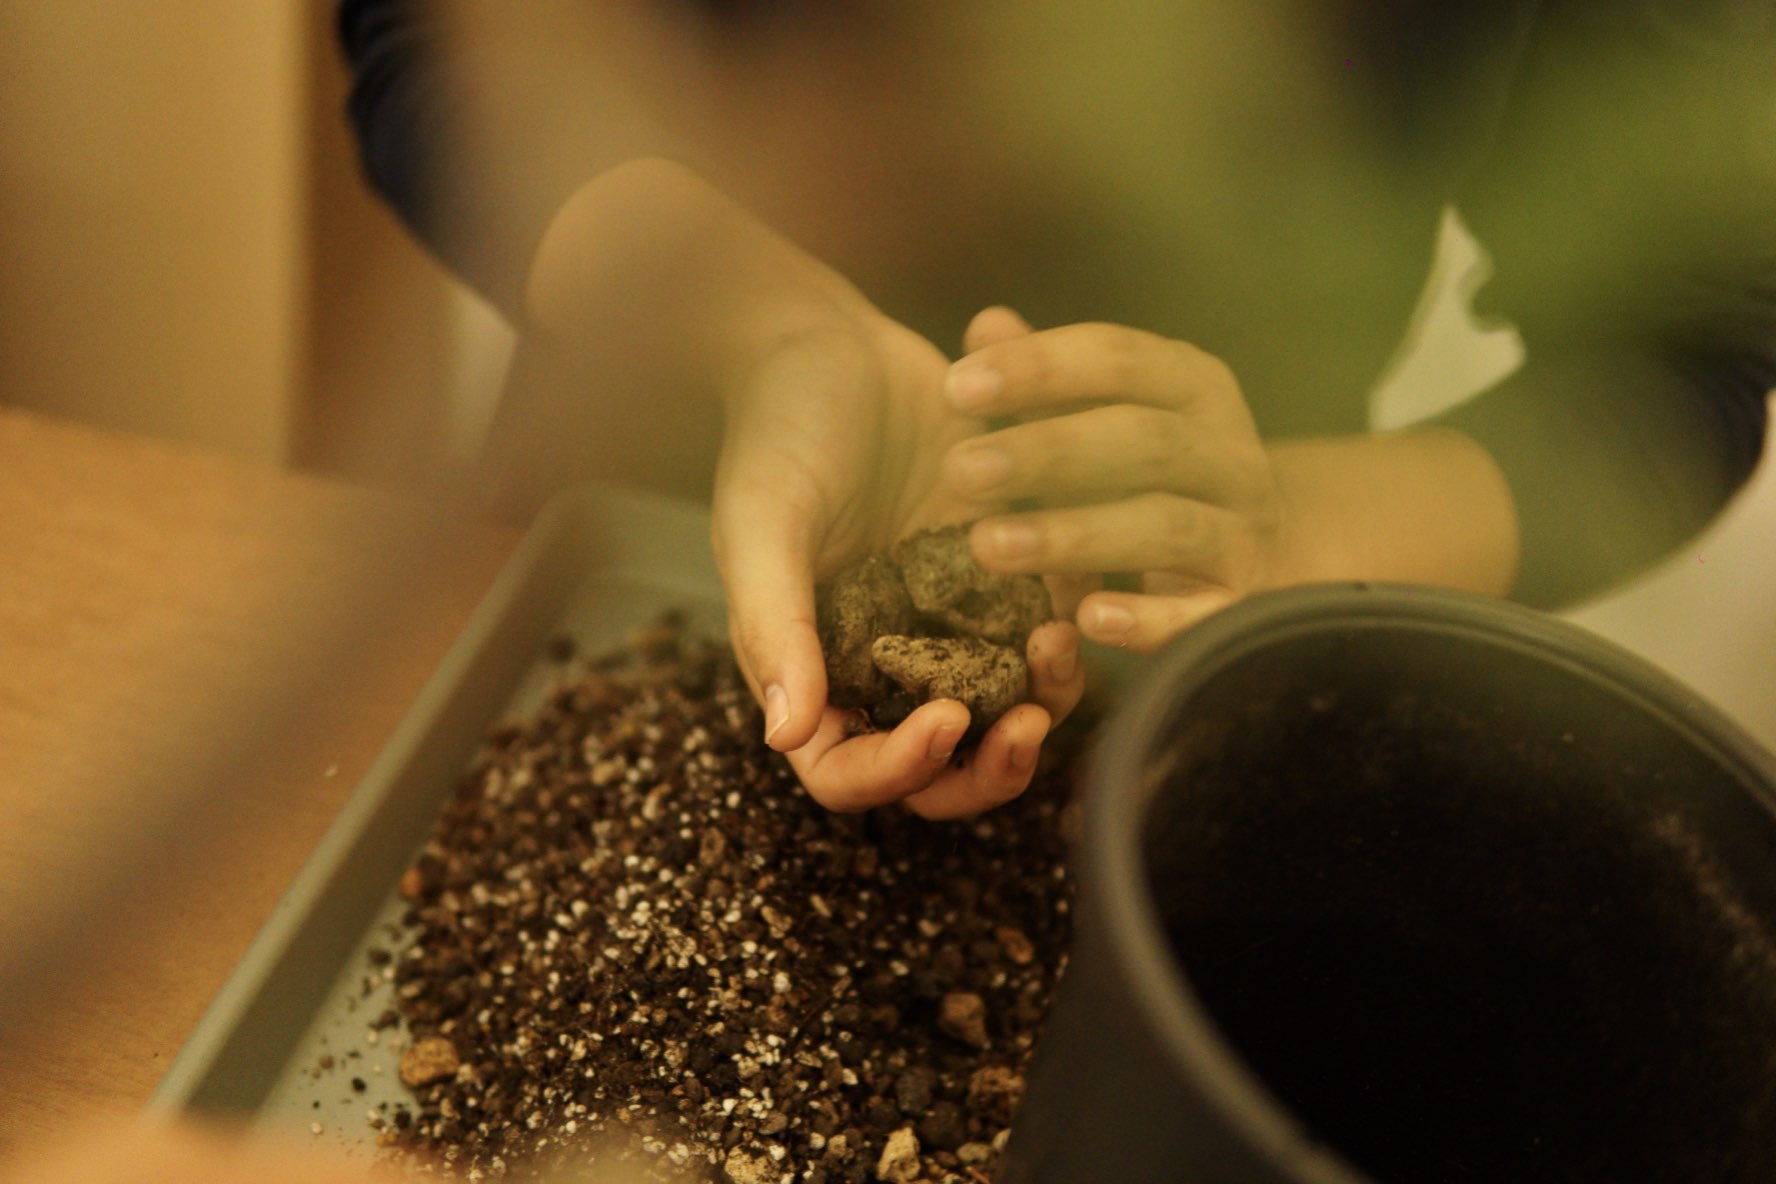
Preparing Your Pot and Soil
Before you pot your bonsai succulent, choose a soil mix without peat moss, as it can become hard to rehydrate once dry. Look for a blend that has good drainage and aeration. Keep some coarse gravel or other top-dressing material on hand; you’ll use it later to cover the soil and prevent it from splashing when watering.
Based on our fellow gardening business, Magnifica Plant’s experience, we recommend that you choose a good drainage soil mix, consisting of 50% gravel mix (such as lava rock, perlite, pumice, etc.) and 50% organic mix (like leaf compost, peat moss, rice husk charcoal).
–
It’s important to note that some species may require variations in soil mix. Also, this soil preparation can be a highly personal experience, especially for growers in lowland regions like Jakarta. Each grower and each region may have their unique blend that works best for their specific conditions and preferences.
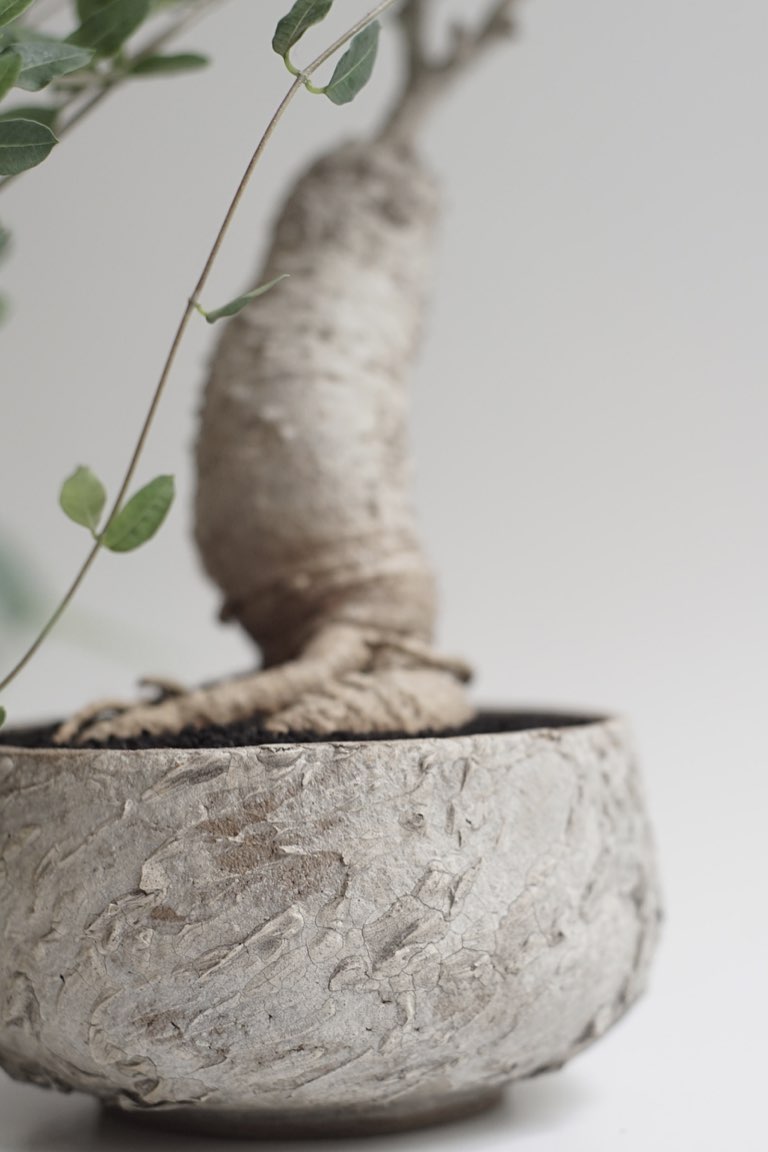
Positioning Your Plant
Once you have the right soil, determine which visually dominant feature of your plant should face forward. This is the “front” that you’ll display. Turn the plant around and examine it from different angles to find the most visually pleasing perspective. This will help guide your potting and staging decisions.
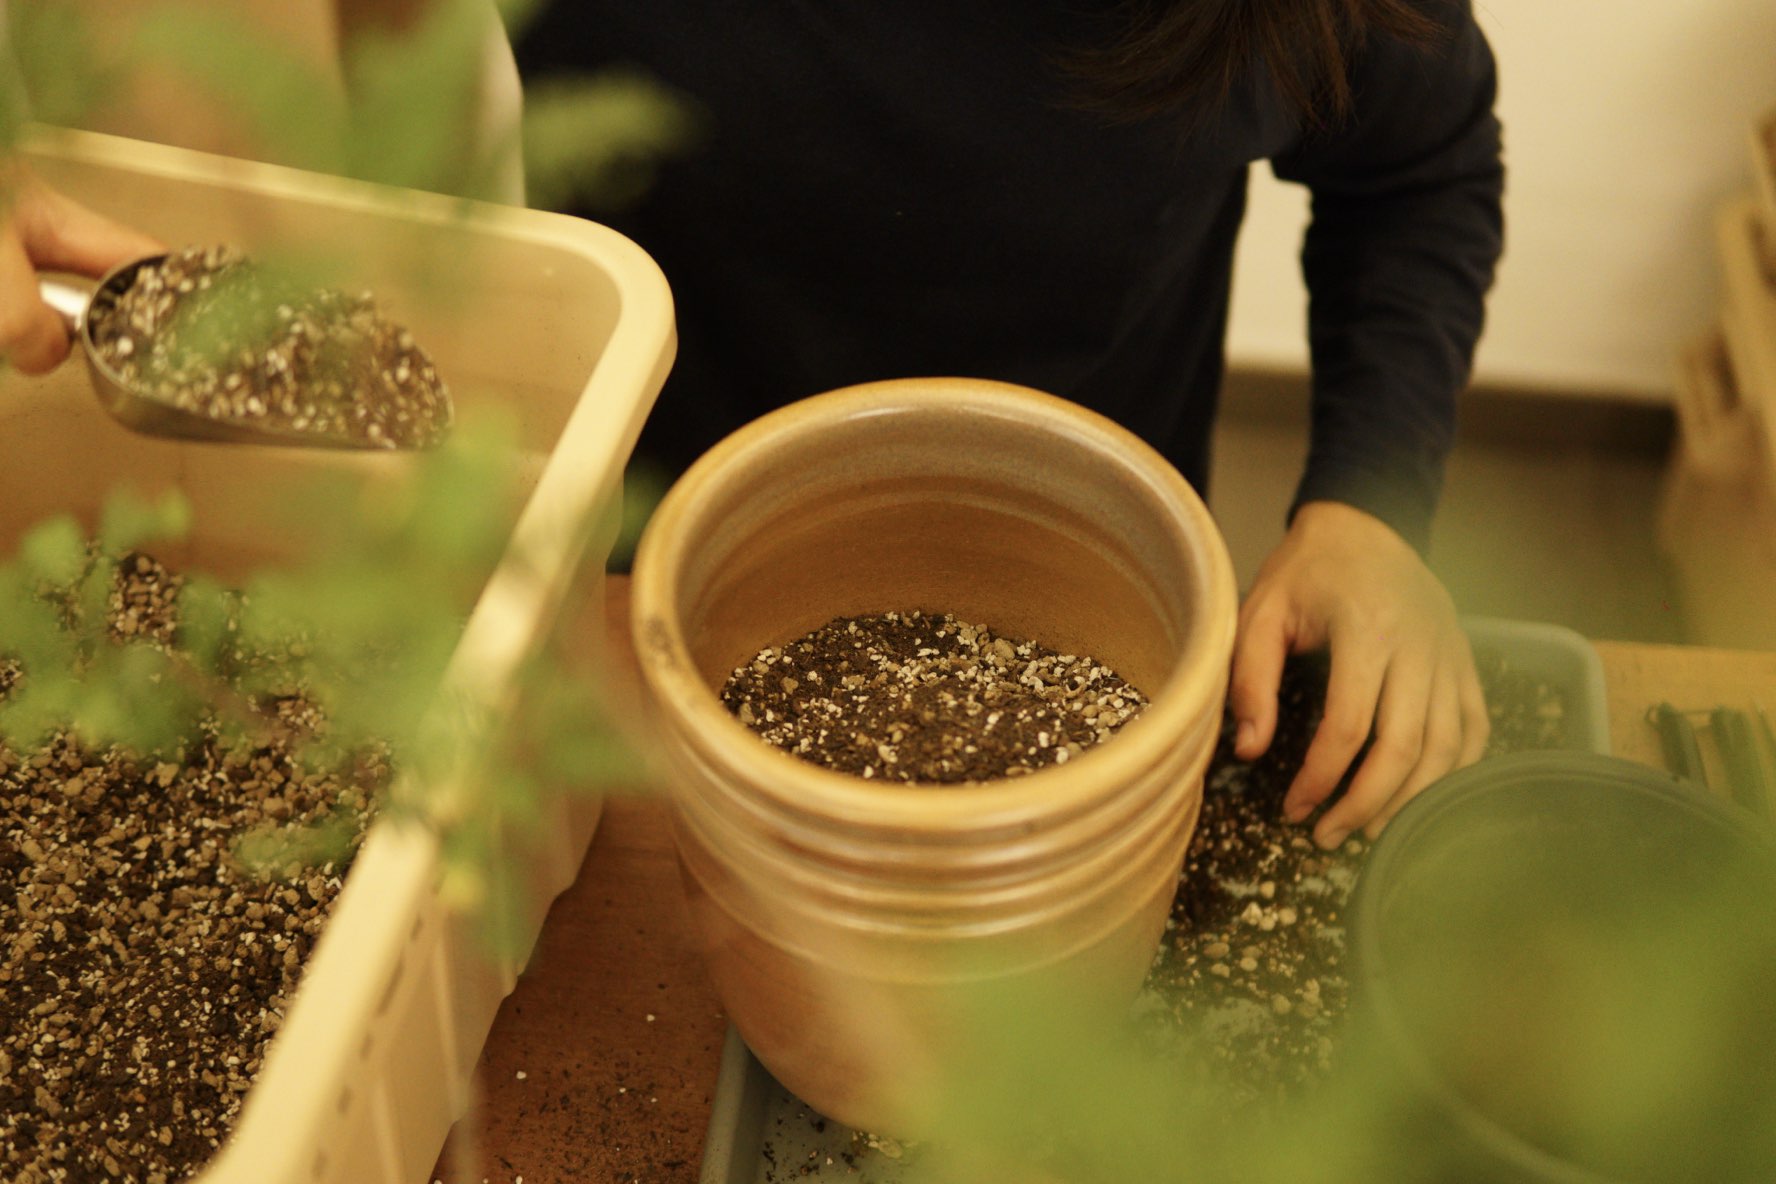
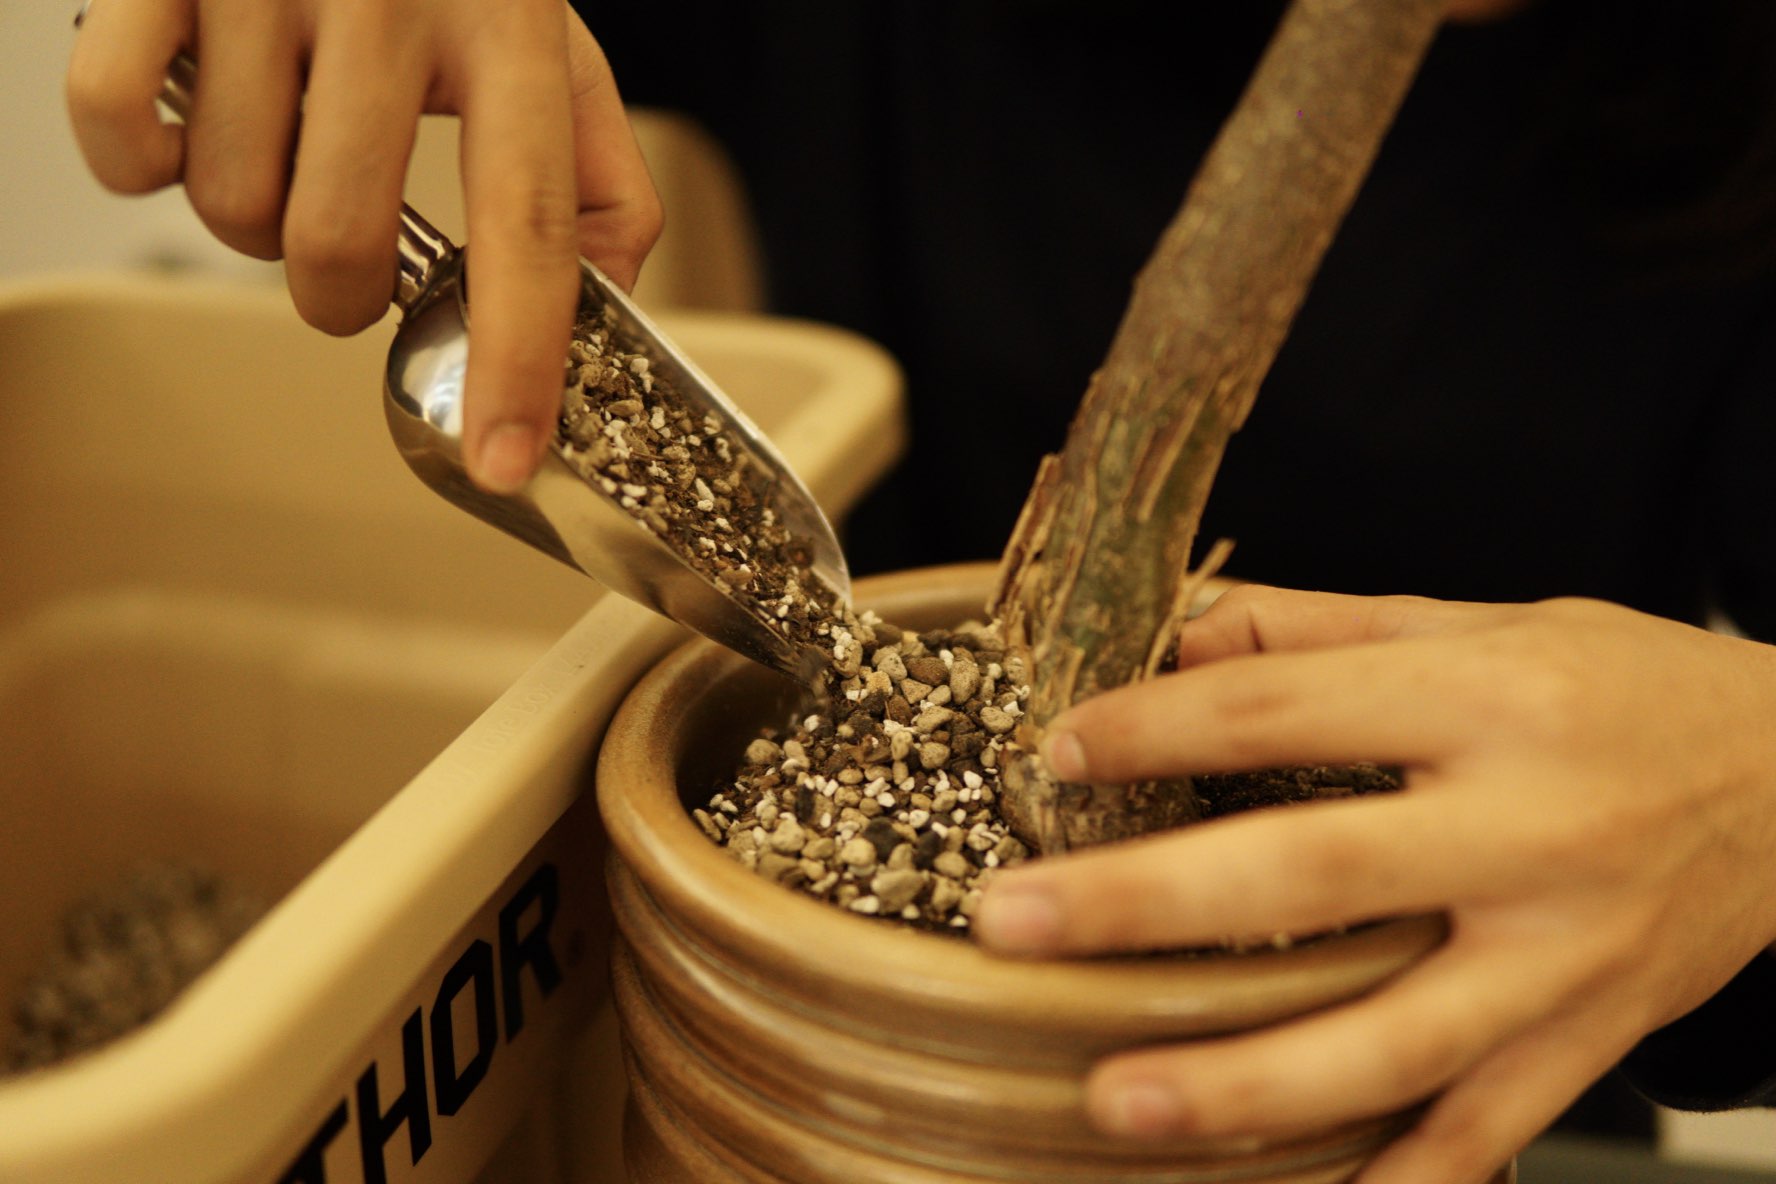
Potting Steps
Step #01 Cover the Drainage Hole: Place a small piece of mesh over the drainage hole to prevent soil from falling out.
Step #02 Add a Base Layer: Put a thin layer of soil at the bottom of the pot. If your pot is deep, you can add a layer of coarse drainage material first.
–
Step #03 Prepare the Plant: Carefully remove the plant from its existing pot and gently tease out the roots with a chopstick or similar tool. If the roots are too long, you can trim them, but avoid large cuts that could cause infection.
Step #04 Position the Plant: Place the plant in the pot, spreading the roots evenly. Add more soil around the plant, lightly patting it down to stabilize it.
Step #05 Add Top-Dressing: Once the plant is positioned and stable, cover the soil with a layer of top-dressing. This helps retain moisture and keeps the soil from splashing when you water.
–
Step #06 Water the Plant: Use a light spray nozzle to gently water the plant. If you’ve pruned the roots significantly, wait a week before watering to allow the roots to heal.
III. Post-Potting Care
After potting, keep your bonsai succulent in partial shade for a few weeks. Gradually increase the light exposure until the plant is in its typical environment. Water carefully, using a light spray, and avoid overwatering. Plants with extensive root pruning should stay dry for a week or more to prevent rot.
To know when to water, check the weight of the pot. A light pot means it’s time to water and vice versa. Or use a soil moisture meter. When in doubt, test with your finger. You may need to water daily in hot weather, but be mindful not to overwater.
With these steps, you can start potting and staging your bonsai succulent. By following these simple steps, you’ll be on your way to creating a beautiful miniature work of art that is aesthetically pleasing.
–
In our next article, we’ll explore the intricate techniques used to train your bonsai succulent into its final form. From wiring to pruning, this stage requires patience and creativity, turning your plant into a unique expression of your own style.
Join us as we continue this journey of exploration, learning by doing, and sharing our insights along the way. Let’s cultivate beauty together!